Kia Soul EV: High Voltage Battery System / Battery Pack Assembly Repair procedures
Kia Soul EV (PS EV) 2015-2020 Service Manual / EV Battery System / High Voltage Battery System / Battery Pack Assembly Repair procedures
| Inspection |
When removing the battery pack assembly to inspect the
battery system, it can be connected to vehicle by using the SST
0K918-E4100, 0K375-E4100, 0K375-E4200. Before installing the battery
system assembly, check if the battery is OK by using the SST.
|
| [SOC Inspection ] |
| 1. |
Turn the ignition OFF. |
| 2. |
Connect the GDS to DLC. |
| 3. |
Turn the ignition ON. |
| 4. |
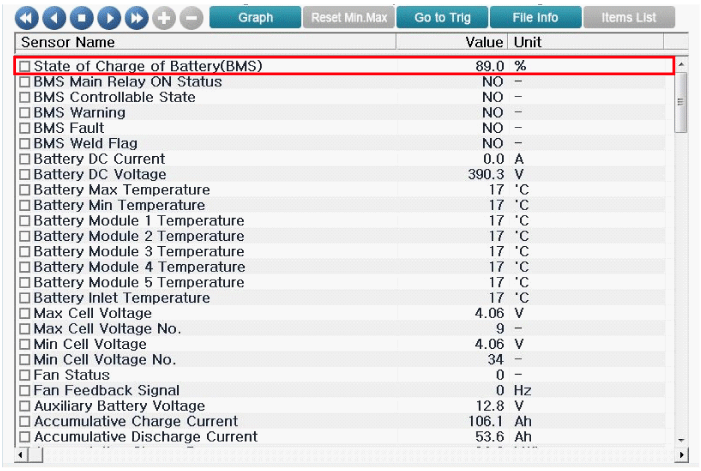
Check the SOC in the GDS service data.
|
| [Battery Voltage Inspection] |
| 1. |
Turn the ignition OFF. |
| 2. |
Connect the GDS to DLC. |
| 3. |
Turn the ignition ON. |
| 4. |
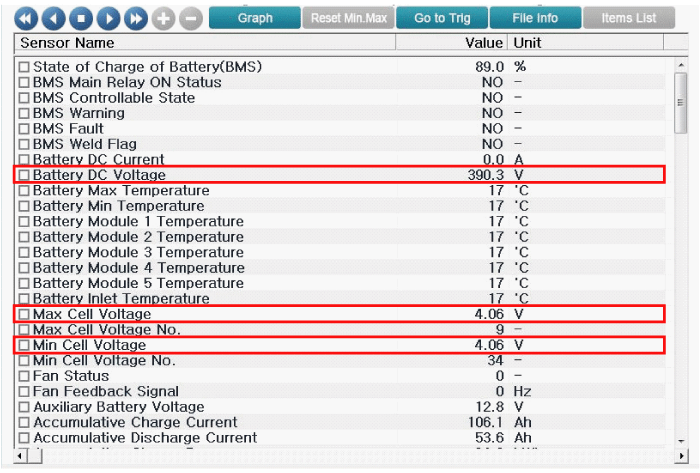
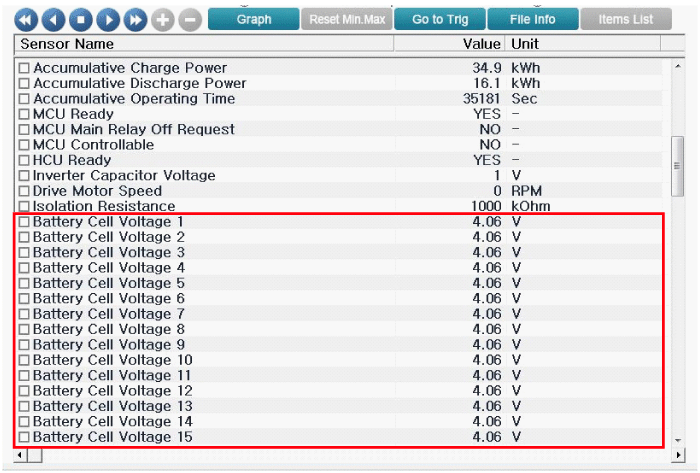
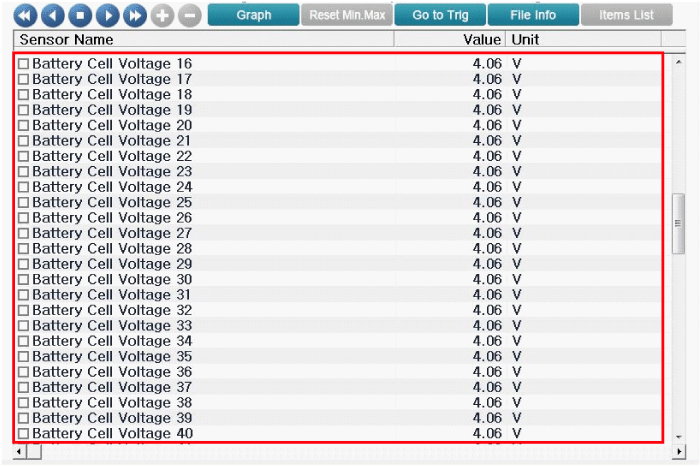
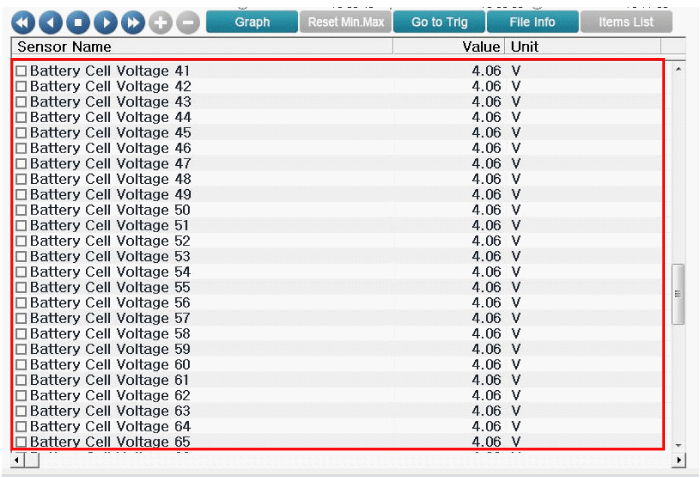
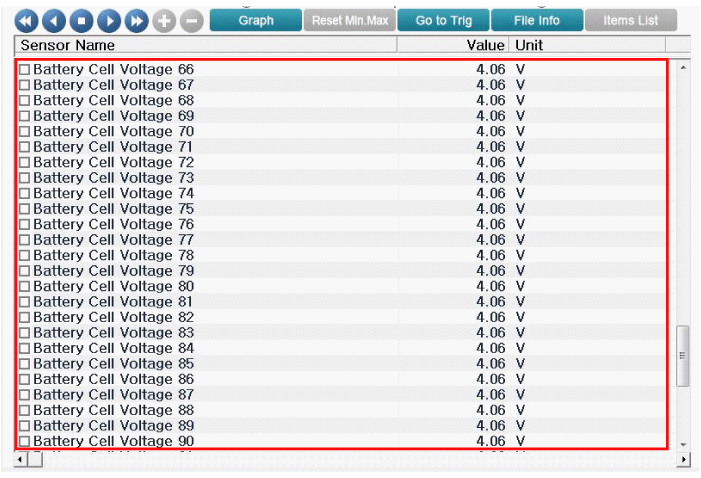
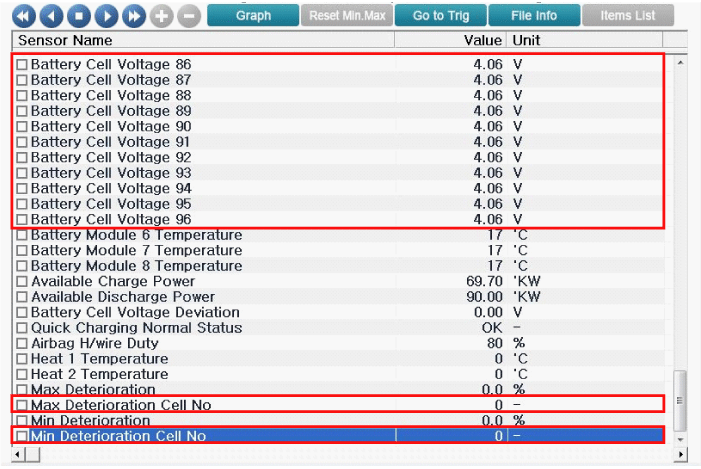
Check the Cell Voltage and the Pack Voltage in the GDS service data.
|
| [Insulation Resistance Inspection (By using the GDS)] |
| 1. |
Turn the ignition switch OFF. |
| 2. |
Connect the GDS to DLC. |
| 3. |
Turn the ignition switch ON. |
| 4. |
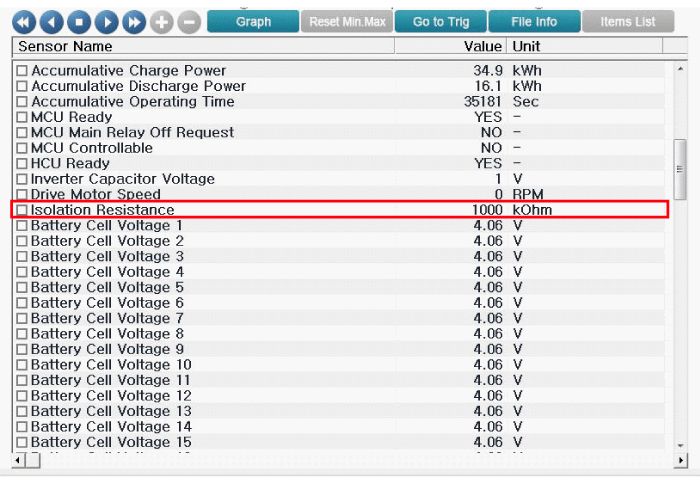
Inspect the insulation resistance in the GDS service data.
|
| [Insulation Resistance Inspection (By using the Mega Ohm Tester)] |
| 1. |
Shut off the high voltage.
(Refer to Battery Control System - "High Voltage Shout-off Procedure") |
| 2. |
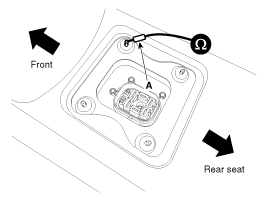
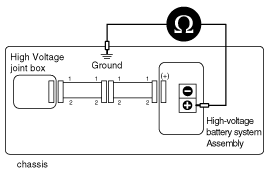
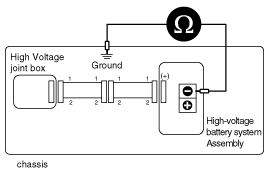
Connect the negative (-) terminal of mega ohm meter (A) to ground of the vehicle.
|
| 3. |
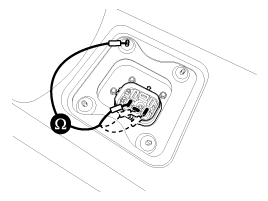
After connecting the positive (+) terminal to positive (+) terminal of the battery, measure the resistance as follows.
|
| 4. |
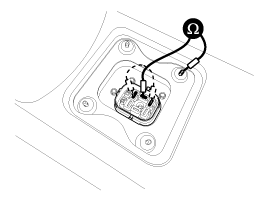
After connecting the positive (+) terminal to negative (-) terminal of the battery, measure the resistance as follows.
|
| Removal |
|
| 1. |
Remove the high voltage battery system assembly.
(Refer to High Voltage Battery System - Battery Pack Assembly - Repair procedures - "Removal") |
| 2. |
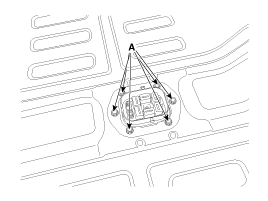
Remove the safety plug cable assembly bracket mounting bolt (A).
|
| 3. |
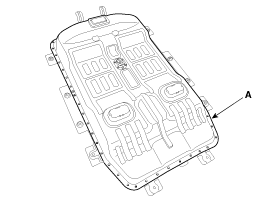
After loosening the mounting bolt, remove the upper case (A).
|
| 4. |
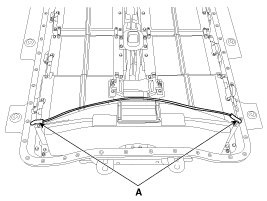
Disconnect the RAD wiring connector (A).
[Right]
[Back]
[Left]
|
| 5. |
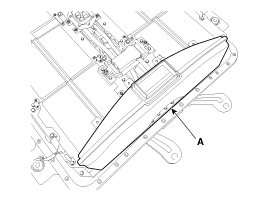
After loosening the mounting nut, remove the battery module outlet duct (A).
|
| 6. |
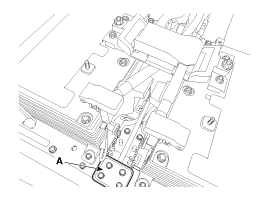
After loosening the mounting bolt, remove the bracke (A).
|
| 7. |
Remove the high voltage power cable cover (A).
|
| 8. |
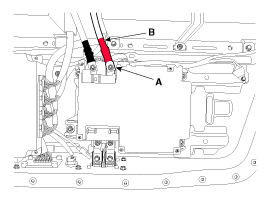
After loosening the mounting nut (A), remove the high voltage positive (+) power cable (B)
|
| 9. |
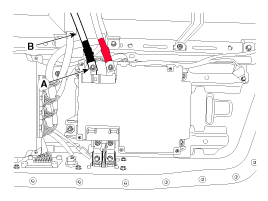
After loosening the mounting nut (A), remove the high voltage negative (-) power cable (B).
|
| 10. |
Remove the inverter busbar cover (A).
|
| 11. |
Remove the inverter busbar (A).
|
| 12. |
Disconnect the high voltage battery heater system control positive (+) power and the ground connector (A).
[With high voltage battery heater system]
|
| 13. |
Dsiconnect the power relay assembly connector (A).
|
| 14. |
After loosening the mounting nut, remove the power relay assembly (A).
|
| 15. |
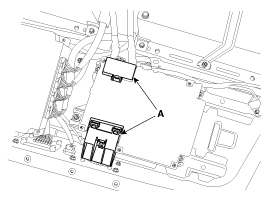
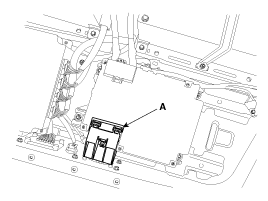
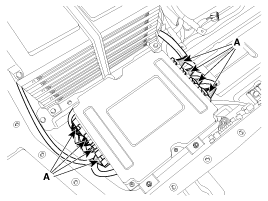
Disconnect the BMS ECU connector (A).
|
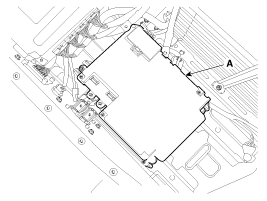
| 16. |
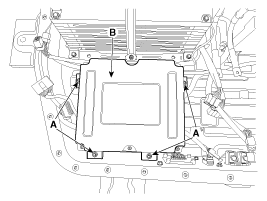
After loosening the mounting nut, remove the BMS ECU (A).
|
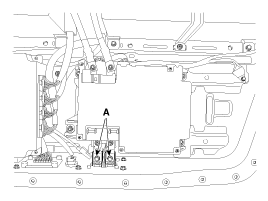
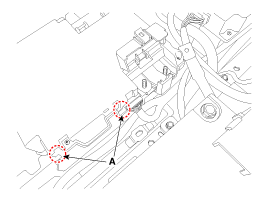
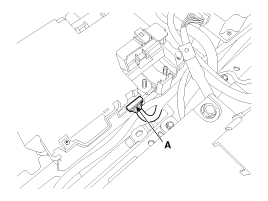
| 17. |
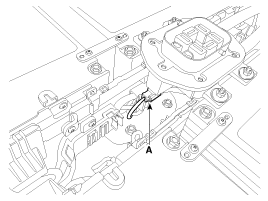
Disconnect the safety plug interlock connector (A).
|
| 18. |
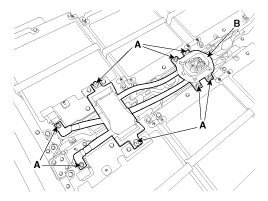
After loosening the mounting nut (A), remove the safety plug cable assembly (B).
|
| 19. |
After loosening the ground bolt (A), remove the BMS extension wiring (B).
|
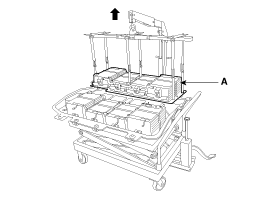
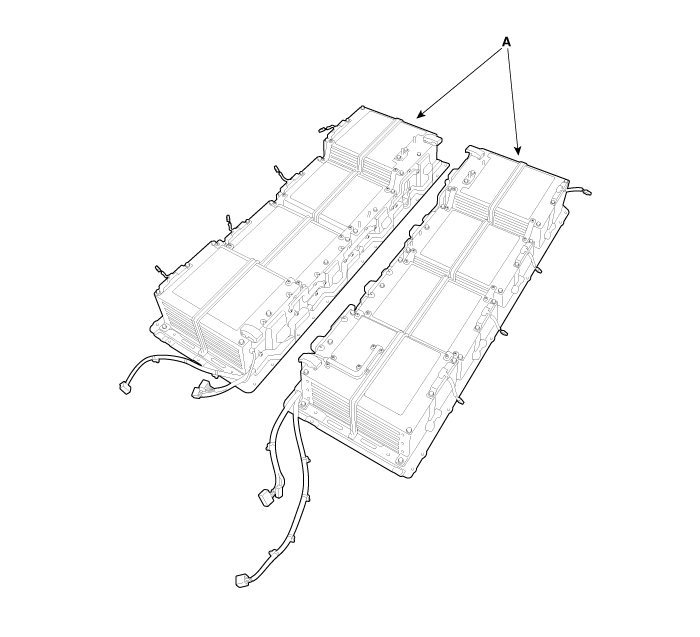
| 20. |
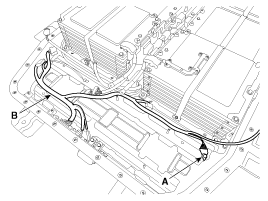
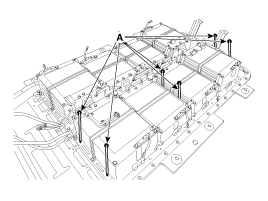
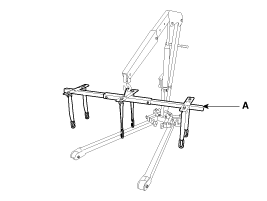
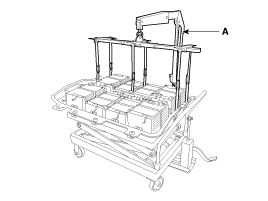
Remove the high voltage battery pack assembly.
|
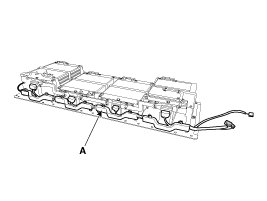
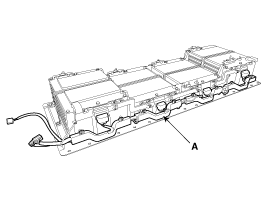
| 21. |
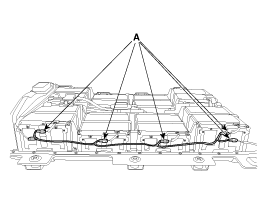
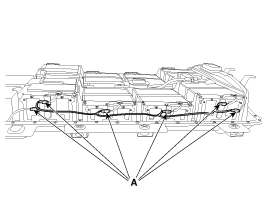
After loosening the harness mounting screw, remove the
voltage & temperature sensor wiring harness (A) from the battery
pack assembly.
[LH]
[RH]
|
| Installation |
|
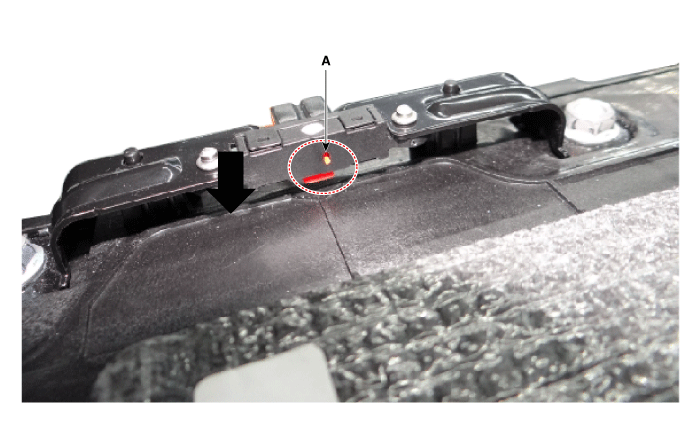
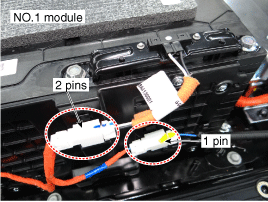
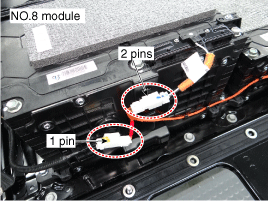
When installing the RAD harness, be sure to check if the connector is installed on the correct position.
[If not correct]
1. Failure of precharging
2. RAD malfunction (misrecognize that the high voltage battery is swollen)
[Main inspection items]
1. Check if the RAD switch faces down
2. Be careful not to reverse battery No. 1 module RAD
connector (2 pins) and the BMS extension connector (1 pin) when
assembling.
3. Be careful not to reverse battery No. 8 module RAD
connector ( 2 pins) and the BMS extension connector (1 pin) when
assembling.
|
| 1. |
Install the high voltage battery pack assembly in the reverse order of removal. |
 Battery Pack Assembly Components and Components Location
Components
Without High Voltage Heater System
1. High Voltage Battery Pack Assembly2. Runaway Arresting Device (RAD)3. Busbar4. Inlet Temperature Sensor5. Voltage & Temperature Sensor Wiri ...
 Power Relay Assembly (PRA) Description and Operation
Description
Power relay assembly (PRA) is installed in the high voltage
battery system assembly and it consists of main relays which control the
high voltage, pre-charge relay, pre-charge resis ...
Other information:
Kia Soul EV (PS EV) 2015-2020 Service Manual: Cooling Fan Repair procedures
Inspection 1. Turn the ignition switch OFF and disconnect the auxiliary battery (12V) negative (-) terminal. 2. Connect the GDS to DLC. 3. Turn the ignition switch ON. 4. Inspect "Control Duty" and waveforms according to "Fan Status" by performing "Actuation Test" on GDS. Cooling ...
Kia Soul EV (PS EV) 2015-2020 Service Manual: Inlet Temperature Sensor Specifications
Specification Temperature (°C)Resistance (K?)Tolerance (%)-40204.5±4.0-30117.8±3.5- 2070.34±3.0- 1043.43±2.5027.63±2.01018.07±1.62012.11±1.2308.303±1.2405.813±1.5504.149±1.9603.013±2.2702.225±2.5 ...
Copyright © www.ksoulev.com 2020-2025


